These 3 measurement reports show what Focus-Variation can do!
17.02.2021
Did you know that we regularly publish measurement reports on various applications in precision manufacturing? Today we would like to introduce 3 of them in more detail.
Measurement report
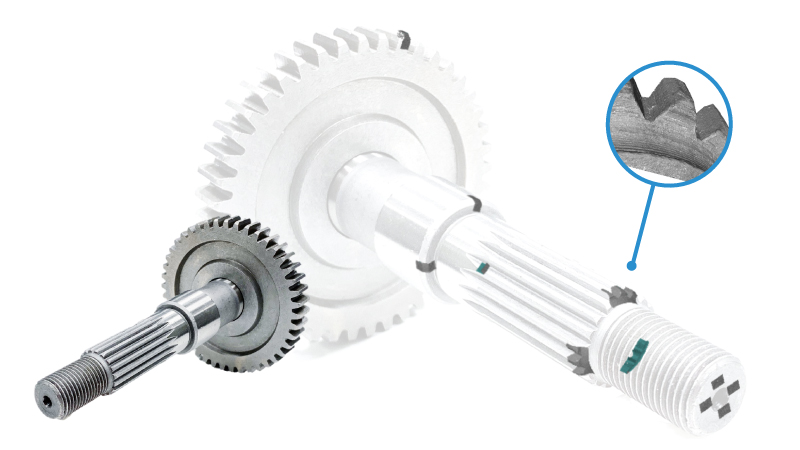
Gear shaft inspection with the 3D coordinate measuring machine

This report shows measurement results of a faulty gear shaft measured with the optical µCMM. In order to analyze the malfunction of this gear shaft part, the following parameters need to be measured:
* coaxiality of gearing in respect to shaft
* outer diameter of gearing and shaft areas
* profile & areal roughness on the tooth flank etc.
Measurement report
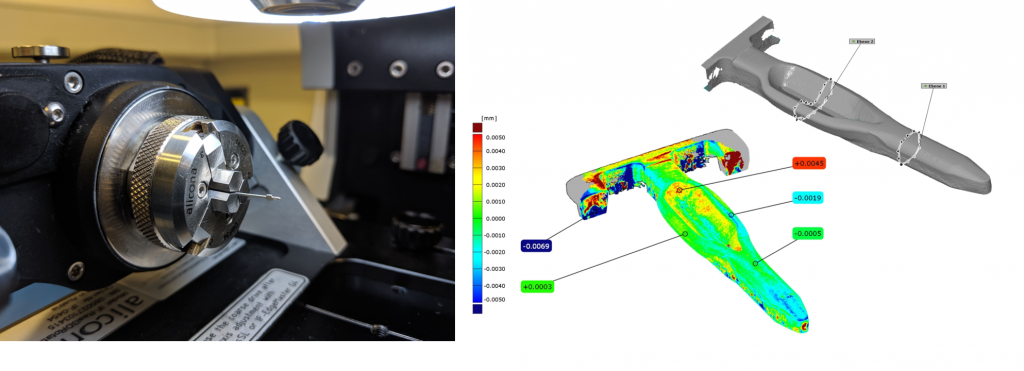
Measurement of plug connections

In this measurement report the InfiniteFocusSL with a Real3DRotationUnit is used as a measurement device. All required parameters of the pins are measured easily and fast. The results are repeatable and user indipendent. Also various pin variants with different surfaces can be measured.
Measurement report
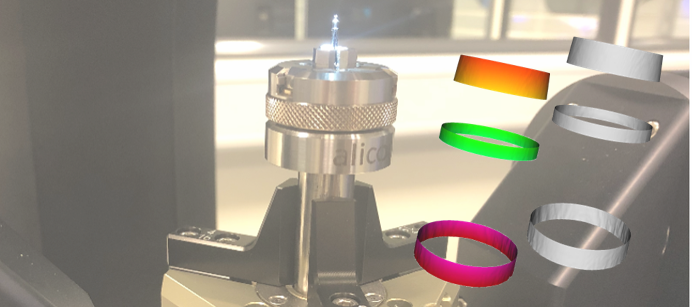
Measurement of an injection needle using Vertical Focus Probing

This measurement report shows how the new technology Vertical Focus Probing is used to measure an injection needle. Vertical Focus Probing allows the measurement of vertical walls and micro holes directly without rotating the sample during the measurement. This significantly shortens the measuring time.
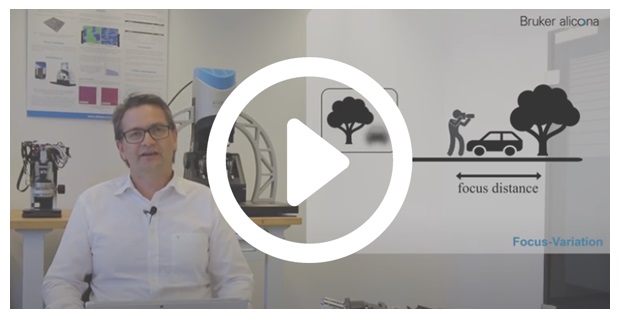
VIDEOBLOG
Learn more about our technology
Watch our videoblog and be informed about new trends in the field of dimensional metrology and surface roughness measurement. In this video R&D manager Franz focuses on our core technologies: Focus-Variation and Vertical Focus Probing. Watch our videoblog series whenever you like.


